Getting started with TS Smart Home takes less than 10 minutes — from unboxing to controlling your first device from your smartphone.
What Is in the Box
Your TS Smart Home device ships ready to use. Inside the box you will find the smart plug or switch hardware powered by an ESP32 microcontroller, a quick-start card, and everything you need to connect. There are no extra hubs and no proprietary bridges — just the device and your existing 2.4 GHz Wi-Fi network.
Step 1 — Download the App and Create an Account
Download the TS Smart Home app from the Google Play Store. Once installed, open the app and register a new account using your email address. After verifying your email you will land on the home dashboard, ready to add your first device.
- Android: Available on Google Play — search "TS Smart Home" or scan the QR code on your device packaging
- Account security: Your credentials are encrypted — never share your password with others
- Multiple devices: One account supports unlimited devices across your entire home
Step 2 — Add Your Device
Plug the smart device into a power socket. Open the app and tap the "+" button on the dashboard. The app will scan your local network for devices in pairing mode. Select your device, enter your Wi-Fi password when prompted, and the device will be provisioned automatically. The LED indicator will change from flashing to a solid light once successfully connected.
The ESP32 hardware connects directly to your home Wi-Fi — no hub needed. You can control it from anywhere in the world through the TS Smart Home cloud platform.
Step 3 — Control and Automate
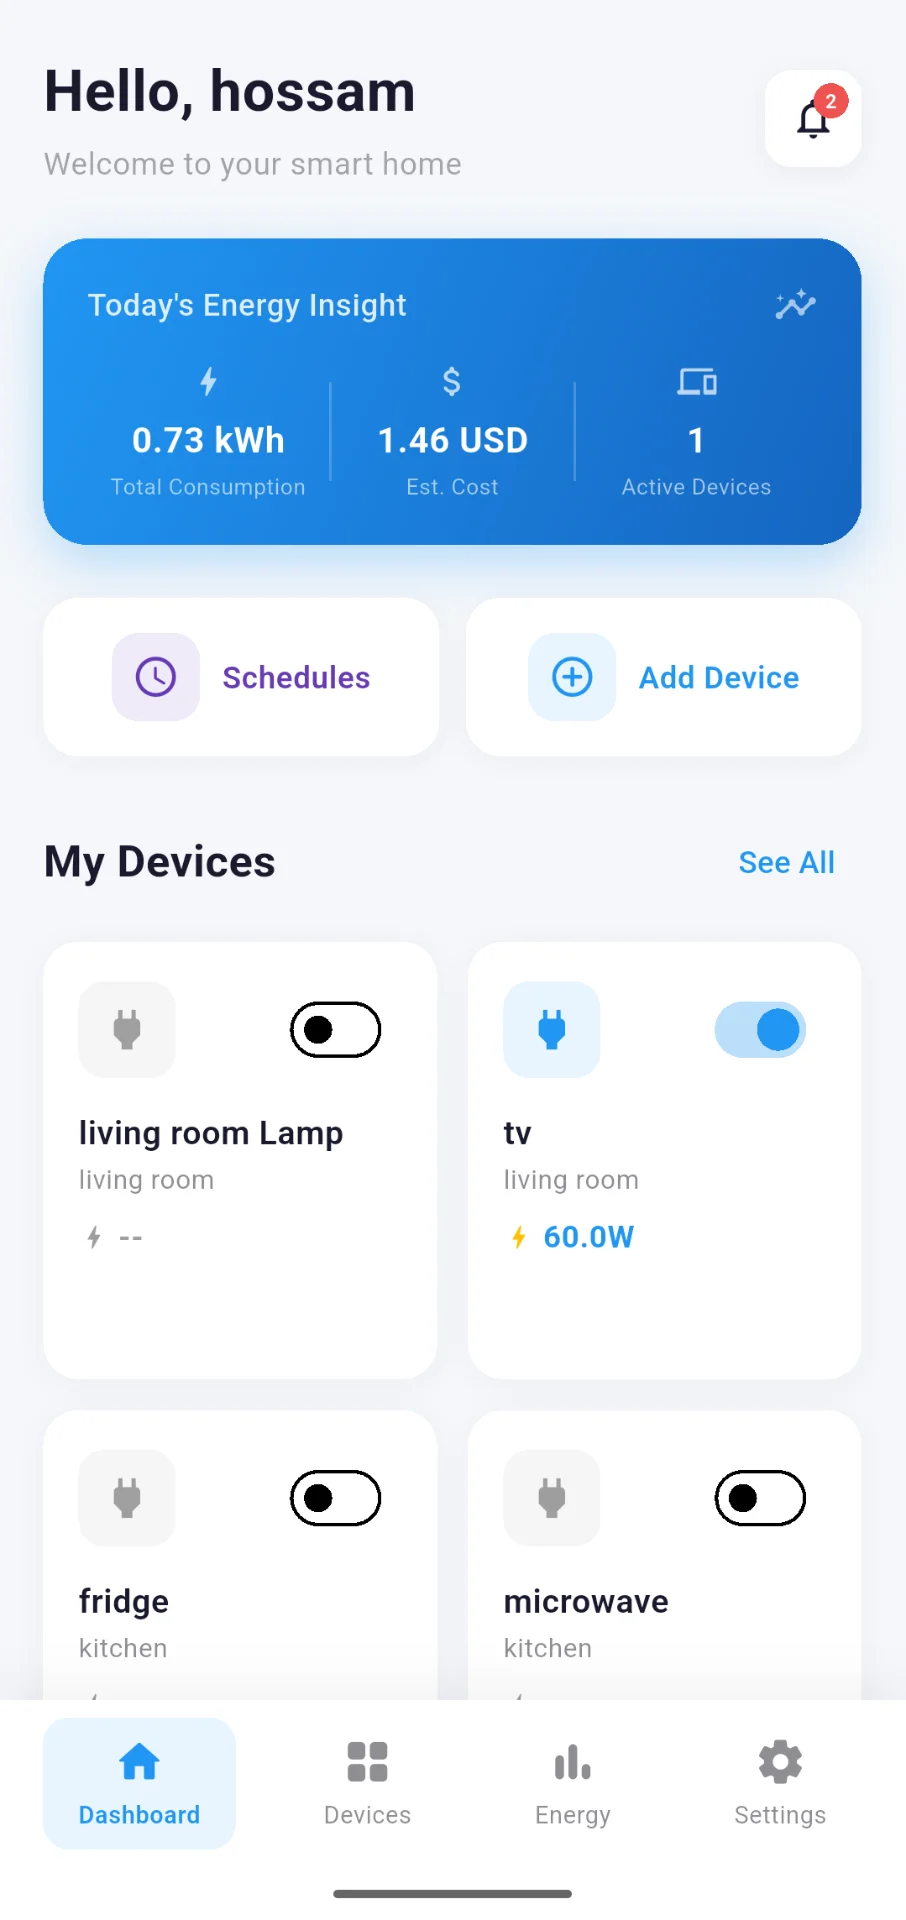
Once paired, your device appears on the app dashboard. Tap the power button to toggle it instantly. To automate it, go to the Schedules section and create a time-based rule — for example, turning off all plugs at midnight or switching on a lamp 30 minutes before sunset. Real-time power consumption monitoring is available directly in the app.
Tips for the Best Experience
Keep your device within good Wi-Fi range for a stable connection. If the device ever goes offline, check that your router has not changed its IP range and that the device is still receiving power. Developers can access the ESP32 SDK on GitHub to build custom firmware and integrate with other platforms.
Ready to Get Started?
Order your TS Smart Home device and have it running in under 10 minutes. Our team is here if you need any help.
Contact Us